Hair Tutorial: How to get a topknot bun
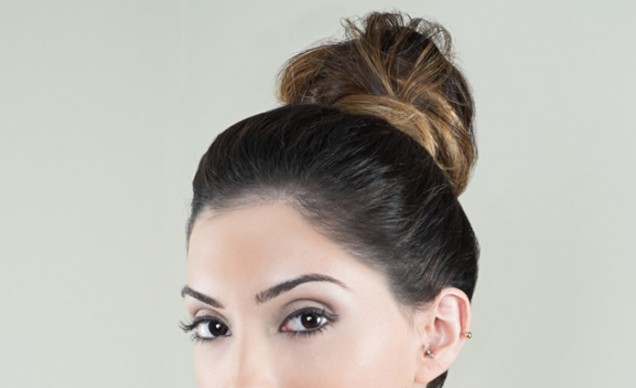

A good ballerina bun is a hairstyle staple that every girl should master, not to mention is one of the biggest trends for this season. It’s a classic look that can be dressed down at the weekend, but is neat enough for the office and demure enough for an evening event.
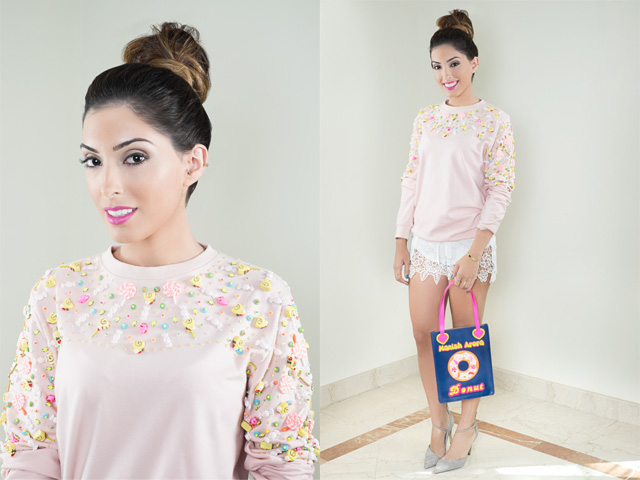
Wearing a sweater & handbag by Manish Arora, available at S*uce boutique. Make up by Joy, Pastels Salon Jumeirah branch.
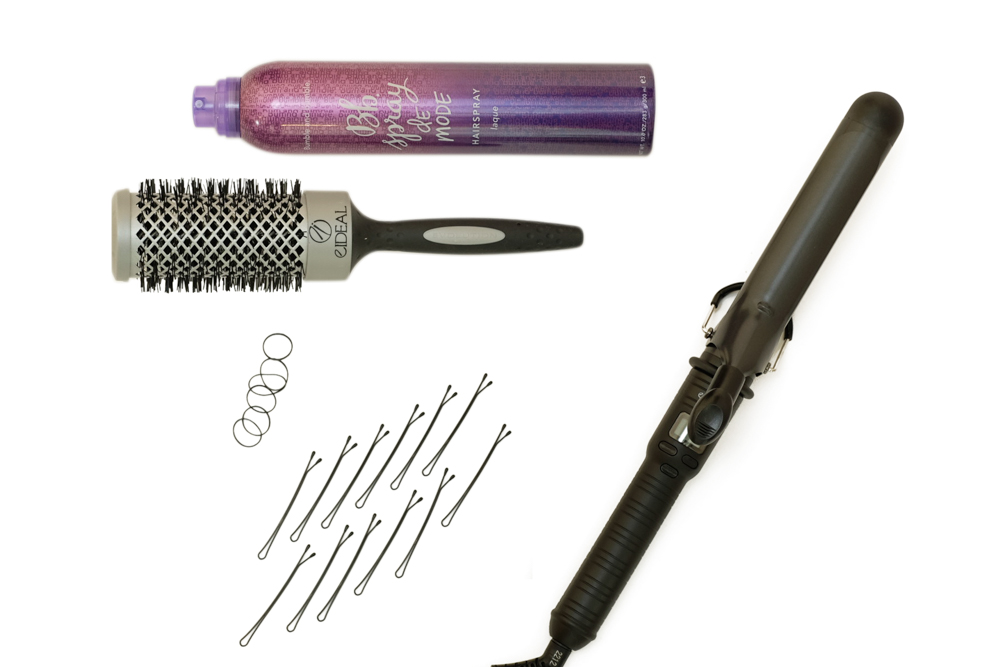
What you will need:
Bumble and Bumble Firm Hold Hairspray
Bobby Pins
A Hair Band
EIDEAL Brush
eCURLER Large Barrel Curling Tong
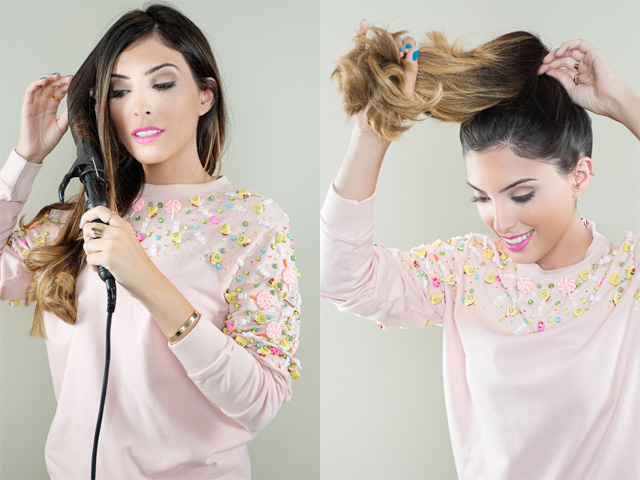
Step 1: Curl It Under
I start by taking a few moments to quickly detangle my hair before using my Large Barreled eCURLER to tuck under the ends. I love that this curler comes in a super-large size that grips lots of hair! I mainly use this size to curl my ends under or create a bouncy finish for a big blow-dry!
Tip: As my hair is straight, I find that curling the ends under makes it a lot easier to tuck any stray hairs back into the bun. When your hair is straight, it tends to stick out more and can be difficult to style into an updo. Those of you with wavy or curly hair can skip this step if you wish.
Step 2: Secure in a Pony
Next, I flip my hair over and use my EIDEAL Brush to smooth everything into a ponytail on top of my head, securing it with an elastic hair band.
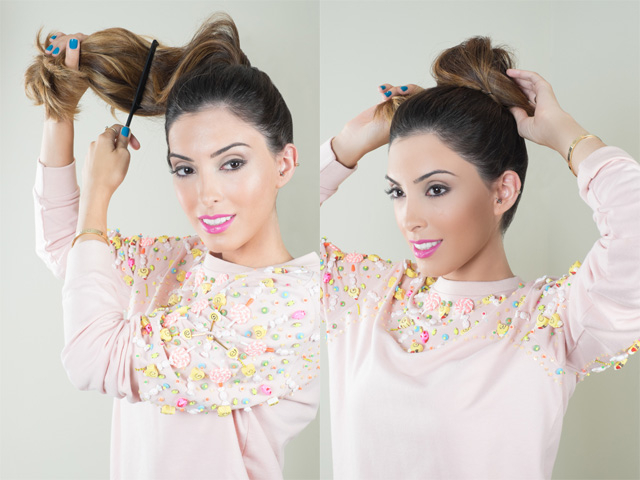
Step 3: Tease into Shape
For a big voluminous bun, I use my EIDEAL Brush to lightly tease my hair, working from my roots to the ends. Once I’m happy with the volume I gently brush the teased hair to smooth it out. The aim is to create the illusion of volume whilst maintaining a smooth texture.
Step 4: Wrap it Around
Now I wrap my hair around the base of my ponytail in a clockwise direction to create the bun shape.
Tip: Some people like to twist the hair before wrapping it around, this is down to personal preference but I tend to skip the twisting stage as this creates a smoother and neater finish.
Step 5: Pull into Position
Now that I’ve created the basic ballerina bun shape, I can adjust the width and volume using my fingers to pull the bun into position. Once the shape is perfected I secure it with bobby pins along the base of the bun.
Tip: I like to cross my bobby pins over one another as this really locks them in place.
Step 6: Spray to Completion
To complete the style, I spray my hair all over with a firm hold hairspray and use my EIDEAL Brush to smooth down any fly-aways.