Hair Tutorial: How to get Old Hollywood hair

Event season is here and I’m loving the Old Hollywood look instead of the usual loose curls. This modern take on classic Hollywood curls is one of my favorites as it exudes glamour and the asymmetrical side twist keeps it current. Check out the tutorial below to find out how to get the look…
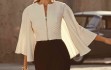
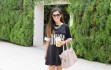
Make up by Joy at Pastels & wearing a Simone Rocha dress from S*uce
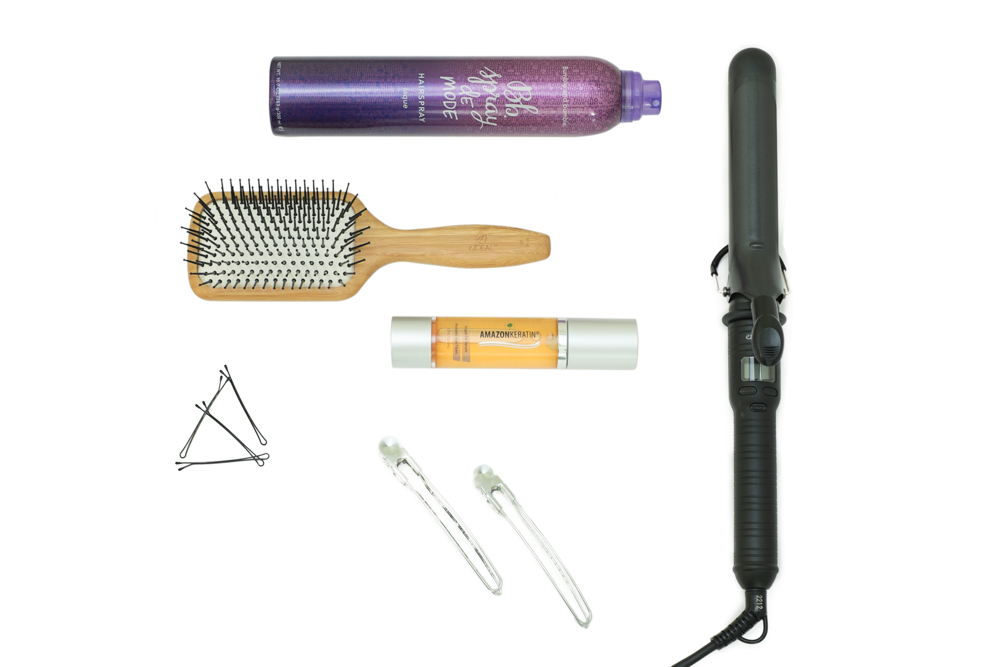
What you will need:
Bumble and Bumble Firm Hold Hairspray
Amazon Keratin Argan Oil Serum
Bobby Pins
Large Setting Clips
EIDEAL Bamboo Paddle Brush
eCURLER Large Barrel Curling Tong
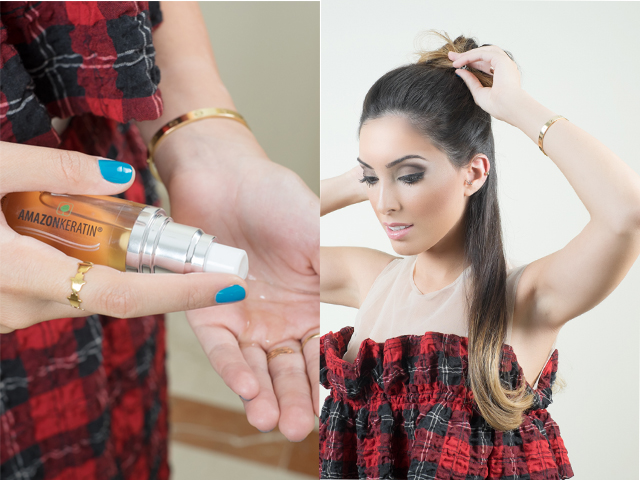
Step 1: Smooth with Serum
For this look I start with dry hair, I preferably wait and style a day after washing. We all know that curls last a lot longer on hair that isn’t freshly washed and I want my curls to go the distance! This look is very polished, so I begin by using my fingers to evenly distribute my Amazon Keratin Argan Oil Serum through the middle and ends of my hair. This Argan Oil serum is so nourishing and it completely eliminates any frizz! I use it whenever I heat style my hair to protect it from damage or for any polished styles like this one as it gives a soft and natural feel to the look.
Step 2: Section before Styling
Next I prepare to curl by evenly sectioning my hair and clipping it out of the way.
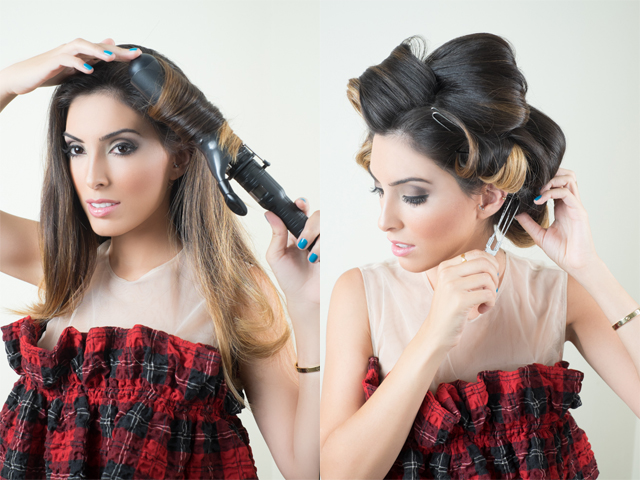
Step 3: Curl and Shine
Now, I start to curl my hair inwards. If you need a little help with the perfect curling technique, take a look at my glam curls tutorial for step by step guidance. I don’t want my curls to be too tight or structured for this look so I use my wide-barreled eCURLER. I love the way that the nano-silver and nano-titanium coating adds extra shine – it’s perfect for any glamorous style and makes my hair look really healthy!
Step 4: Pin into Place
Once my entire head is curled I clip them into place with my large setting clips. This part requires some speed – I need to move quickly as I want to clip up the curls whilst they are still warm, this helps them to set and prolongs the style. Starting at the front, I use my fingers to gently guide the curls downwards and manipulate them into a large roll before securing with a clip. I repeat this process all over before misting them with some firm hold hairspray.
Tip: To save time I usually let the curls cool into this shape whilst applying my makeup. It’s important to keep the curls clipped up for at least 15minutes to ensure they are completely cool.
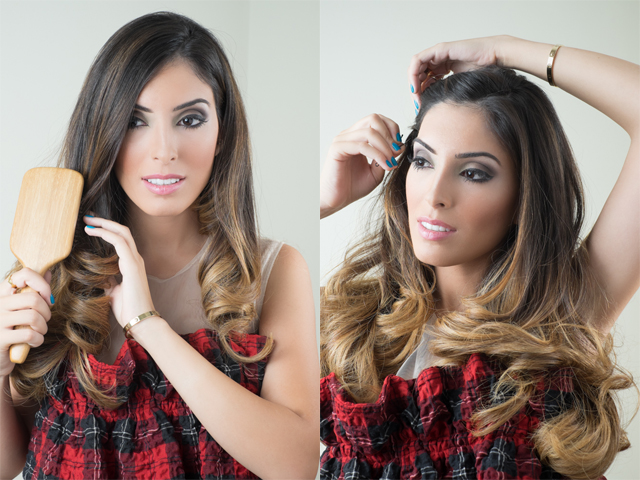
Step 5: Disperse the Curls
Now it’s time to release the curls. I gently pull the clips out one by one and let my hair fall. Using my Bamboo Paddle Brush, I lightly disperse the curls, being sure to brush back in the direction away from my face. This brush has the perfect design for this style as the nylon pins reduce static, meaning that my curls will remain frizz-free!
Tip: When brushing out the curls I don’t apply too much pressure as I want the finished look to feel polished.
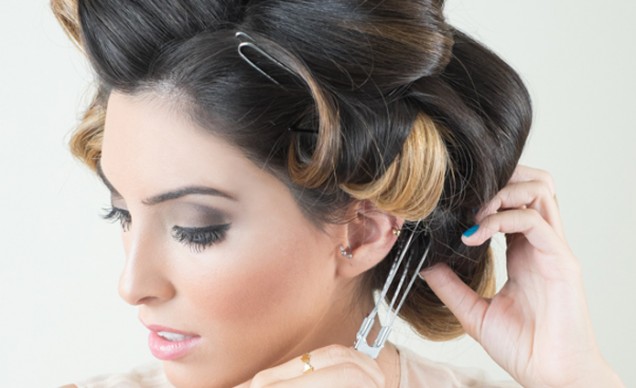
Step 6: The Final Twist
To complete the look I use my fingers to twist the hair inwards on itself, along the hair line. As I move along I gather more hair and bring it further back, working my way down. Now I hold the twist tight in place and crossover two bobby pins to secure it into place. To ensure my curls stay put, I mist a final veil of hairspray to secure the style.