

HAIR TUTORIAL: How to get Beach Waves.

With the Summer right here, I’m showing you how to get the hair you get after a day at the beach – The combination of sun, sea, sand, and salty air creates an unparalleled texture. Beachy waves are one of my go-to daytime looks for summer and they can easily be recreated at home using a flat iron and some carefully selected styling products. It might seem odd that I work with a flat iron rather than a curler but I love the natural tousled effect that I get with my DiamonSilk flat iron by Eideal! Enjoy.
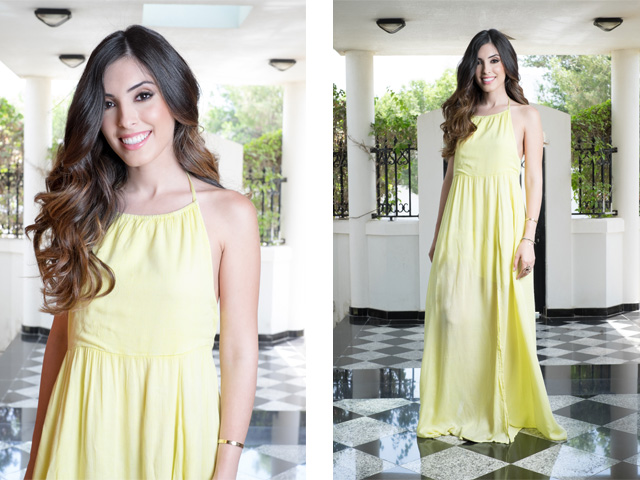
I’m wearing a Maxi dress by Somedays Lovin (AED405) from West LA Boutique with a gorgeous brown smokey eye.
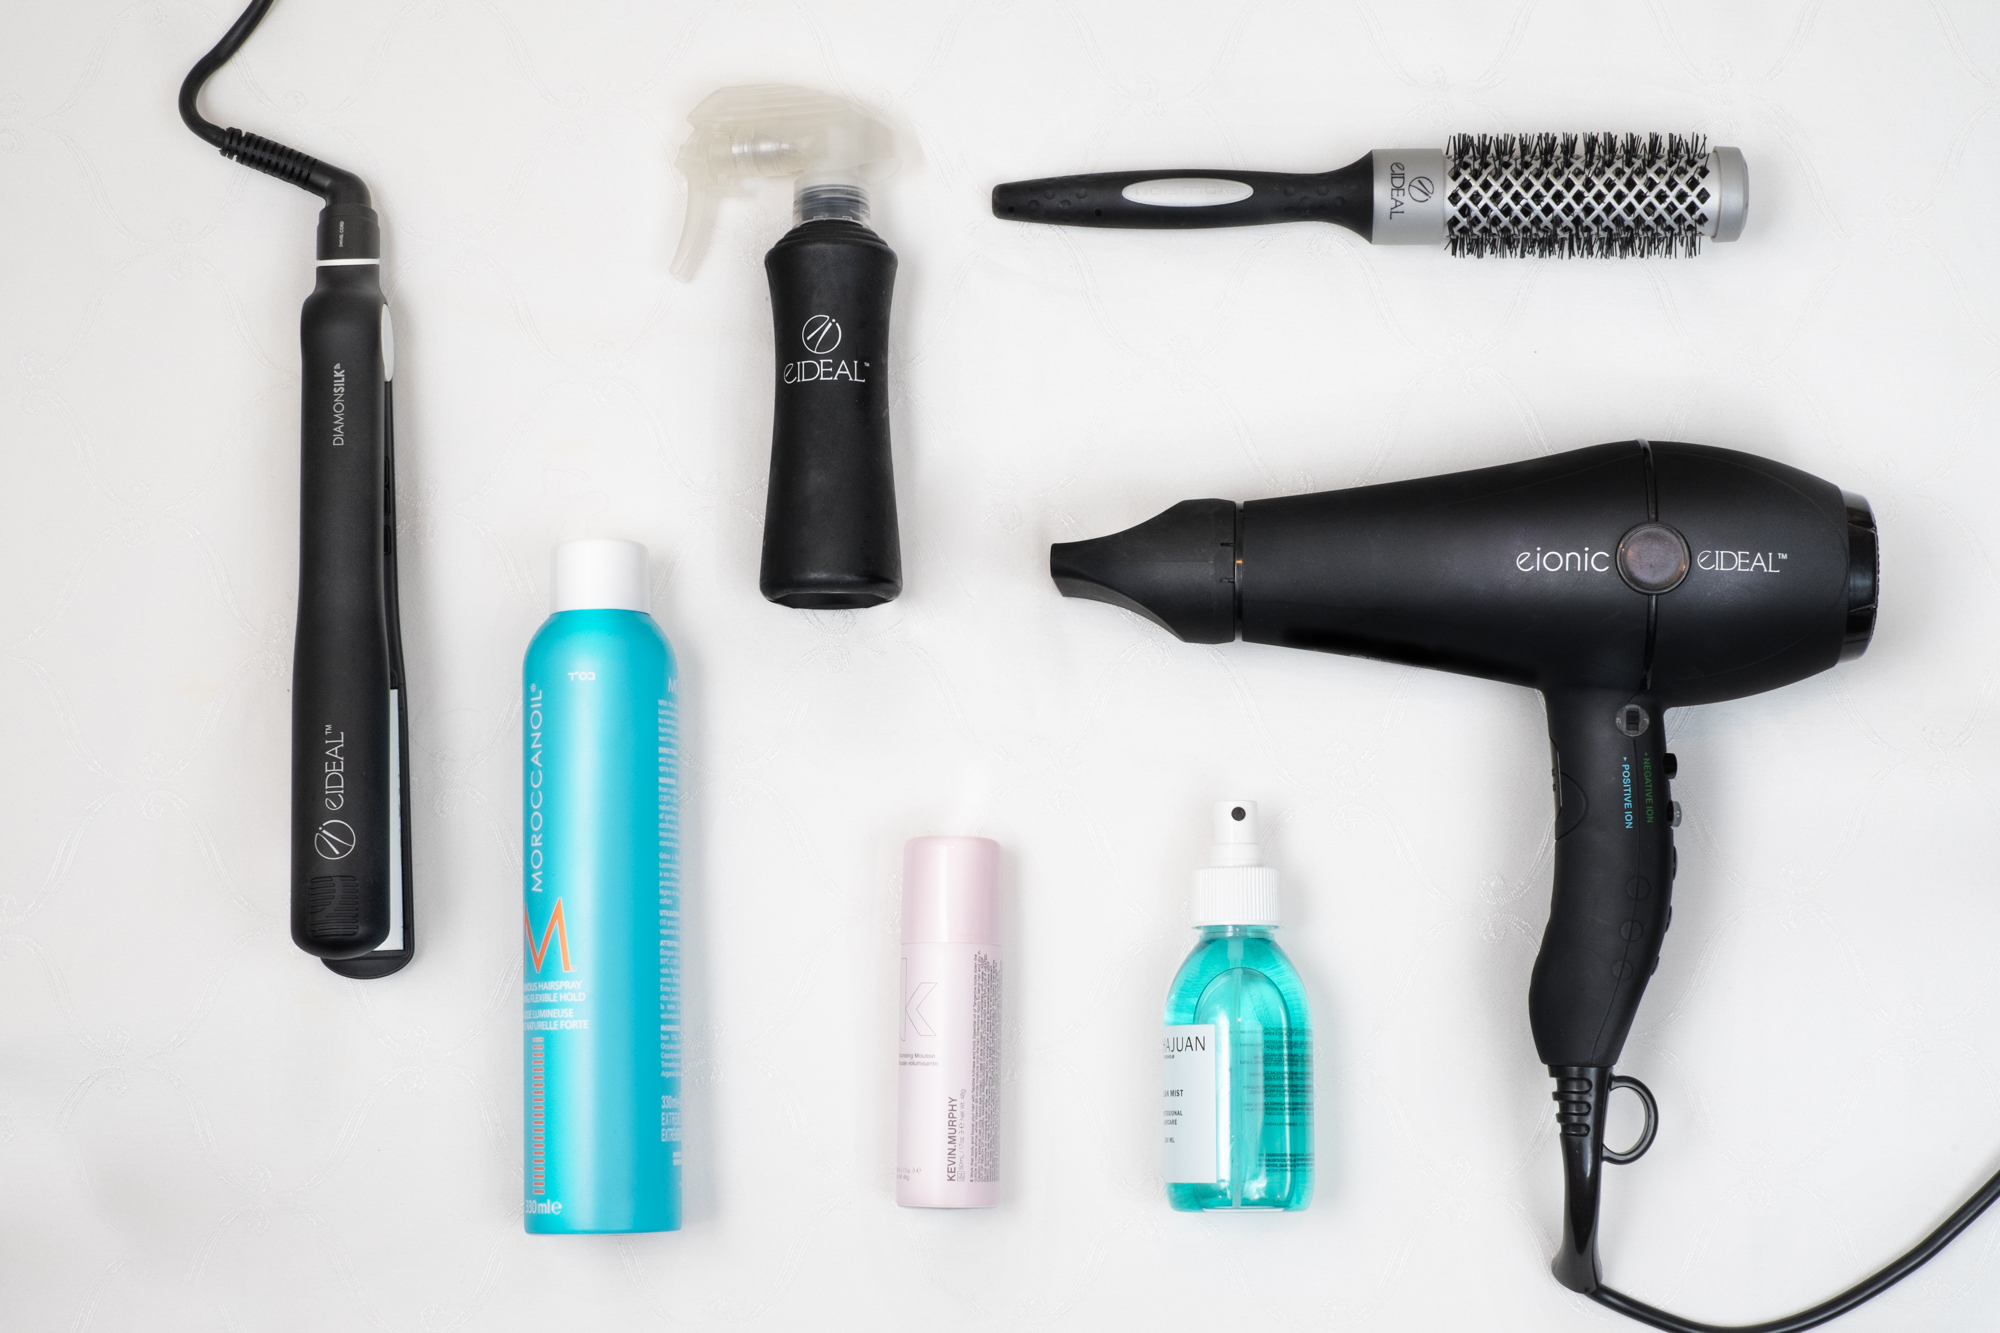
What you will need:
eionic Hairdryer
Evolution Brush
DiamonSilk Flat Iron
Kevin Murphy Volumizing Mousse
Spray Bottle
Morrocan Oil Medium Hold Hairspray
Sachajuan sea salt spray
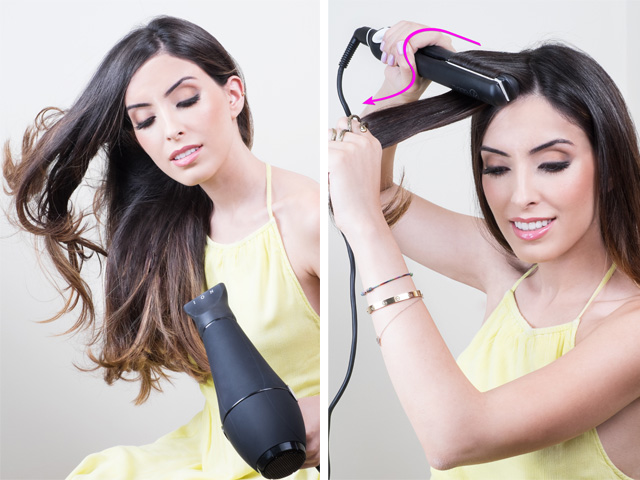
Step 1: A Big Blowout
Beach waves look better with a bit of extra bounce so I start by blow drying my hair using my eionic hairdryer and my Evolution Brush paired with some volumizing mousse!
Tip: For added texture you can also spritz some sea salt spray onto towel dried hair before you blow dry.
Step 2: Clamp and Twist
Now that my hair has completely cooled down it’s time to create some waves! After applying my heat protection spray, I set my DiamonSilk flat iron to a medium heat. This avoids creating indents in my hair with excess heat.
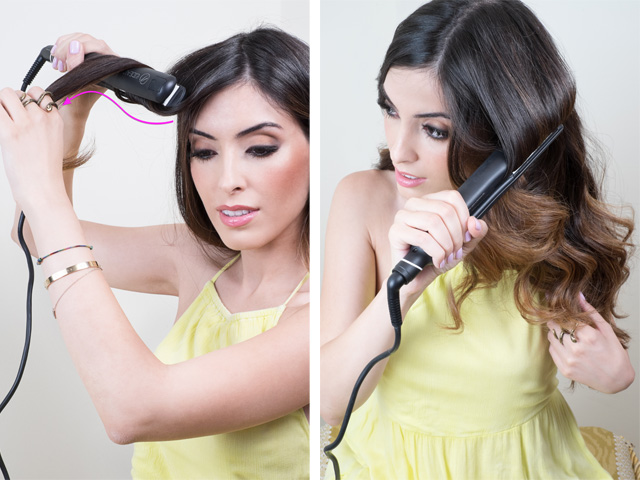
This look isn’t supposed to be too precise so I work with different-sized, random portions of my hair to ensure my waves don’t look too ‘uniform’. I start at the top and clamp and rotate the flat iron 180° whilst holding out the ends in the opposite direction. The secret to successful waves is in the movement! The idea is to clamp the iron on the hair and then turn it over. Twist the iron slowly, but fast enough so ensure that the hair doesn’t crease. When I take the iron away I can see my first wave!
Step 3: Reverse It
Next, I repeat the same action again but this time curving my hair in the opposite direction
Step 4: Hold it Taut
I continue this pattern down the length of my hair. In picture 5 you can see how I use my hand to keep the hair taught, this ensures that the wave above will not fall out of shape! As I work my way around my head I keep checking the shape of my hair to ensure the pattern looks natural. I continue the wave pattern down to the ends.
Tip: If you hold your iron in the same spot for too long you might create a nasty dent! To get your hair back in-shape, use your spray bottle to lightly mist the area and leave it to air dry before re-waving.
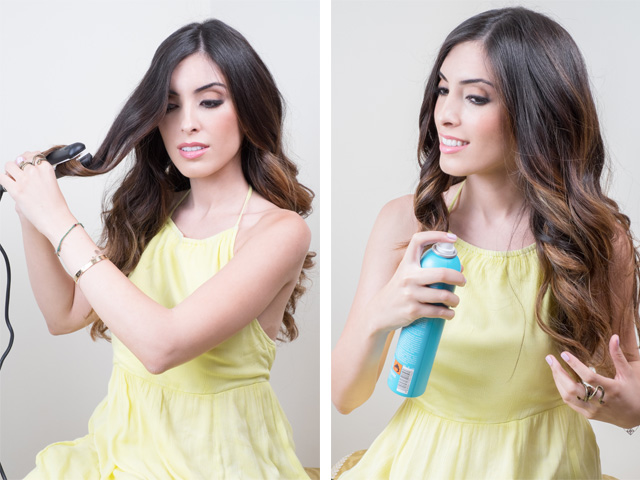
Step 5: Repeat It
I continue to wave the rest of my hair, once I’ve mastered the first few sections the whole process starts to become easier!
Tip: Don’t be tempted to spread out the waves with your fingers while your hair is still hot! Wait until the very end when your hair has cooled in the pattern you created.
Step 5: Set the Style
Now you have the texture you’ll want your waves to stay in place, so the last step is possibly the most important. Once I’m perfectly sure that my hair has cooled I use some medium hold hairspray to lock my hair into place. Now I have the perfect hair for days when a visit to the beach isn’t possible!